The Utility Knife: Your Kitchen’s Versatile Precision Tool
Discover why this often-overlooked blade might be the most useful knife in your kitchen, capable of tackling hundreds of tasks between paring and chef knife sizes.
What Exactly Is a Utility Knife? Defining the “In-Between” Blade
A utility knife is the Goldilocks of kitchen cutlery—not too big, not too small, but just right for hundreds of tasks that fall between what a paring knife and chef knife can comfortably handle. Typically ranging from 4 to 7 inches in length, this versatile blade bridges the gap between precision work and light chopping, making it one of the most frequently reached-for tools in both professional and home kitchens.
The term “utility knife” can be somewhat misleading, as it suggests a generic, all-purpose tool. But in reality, this category represents some of the most specialized and useful blades available. Imagine you’re facing a medium-sized task—slicing a sandwich, trimming fat from a chicken breast, or cutting a mango. Your chef knife feels like overkill, and your paring knife is just too small. This is precisely where the utility knife shines.
Historically, utility knives emerged as European chefs sought a middle-ground tool that could handle the multitude of tasks that didn’t require either extreme precision or heavy chopping. Unlike the highly specialized Japanese tradition with its dozens of single-purpose blades, Western knife design embraced the utility knife as a versatile problem-solver.
The Perfect Size
Typically 4-7 inches—long enough for slicing, short enough for control
Balanced Performance
Bridges the gap between precision and power cutting
Versatile Application
Handles hundreds of kitchen tasks efficiently
Beginner Friendly
Easier to control than larger knives, less intimidating for new cooks
“In my professional kitchen, I keep at least three utility knives within arm’s reach at all times. They’re perfect for the hundreds of medium-sized tasks that come up during service—trimming protein, slicing sandwiches for family meal, or cutting citrus for garnish. A sharp utility knife might just be the most versatile tool in your kitchen.”
Anatomy of a Utility Knife: Understanding What Makes It Unique
While utility knives share basic components with other kitchen knives, their specific proportions and design features create a unique cutting tool optimized for medium-sized tasks. Let’s break down the anatomy:
Key Design Features
Blade Length
4-7 inches is the sweet spot—long enough for slicing motions but short enough for detailed control. Most common sizes are 5″ and 6″.
Weight & Balance
Lighter than chef knives but more substantial than paring knives. Perfect balance point is typically just forward of the handle.
Blade Geometry
Narrower than chef knives, allowing for better precision. Often features a slightly curved belly for rocking motions.
Blade Shape Variations
Utility knives come in several blade shape variations, each optimized for different tasks:
| Blade Shape | Best For | Typical Length | Common Style |
|---|---|---|---|
| Straight Edge | Precision slicing, clean cuts, push cutting | 5-6 inches | Western/European |
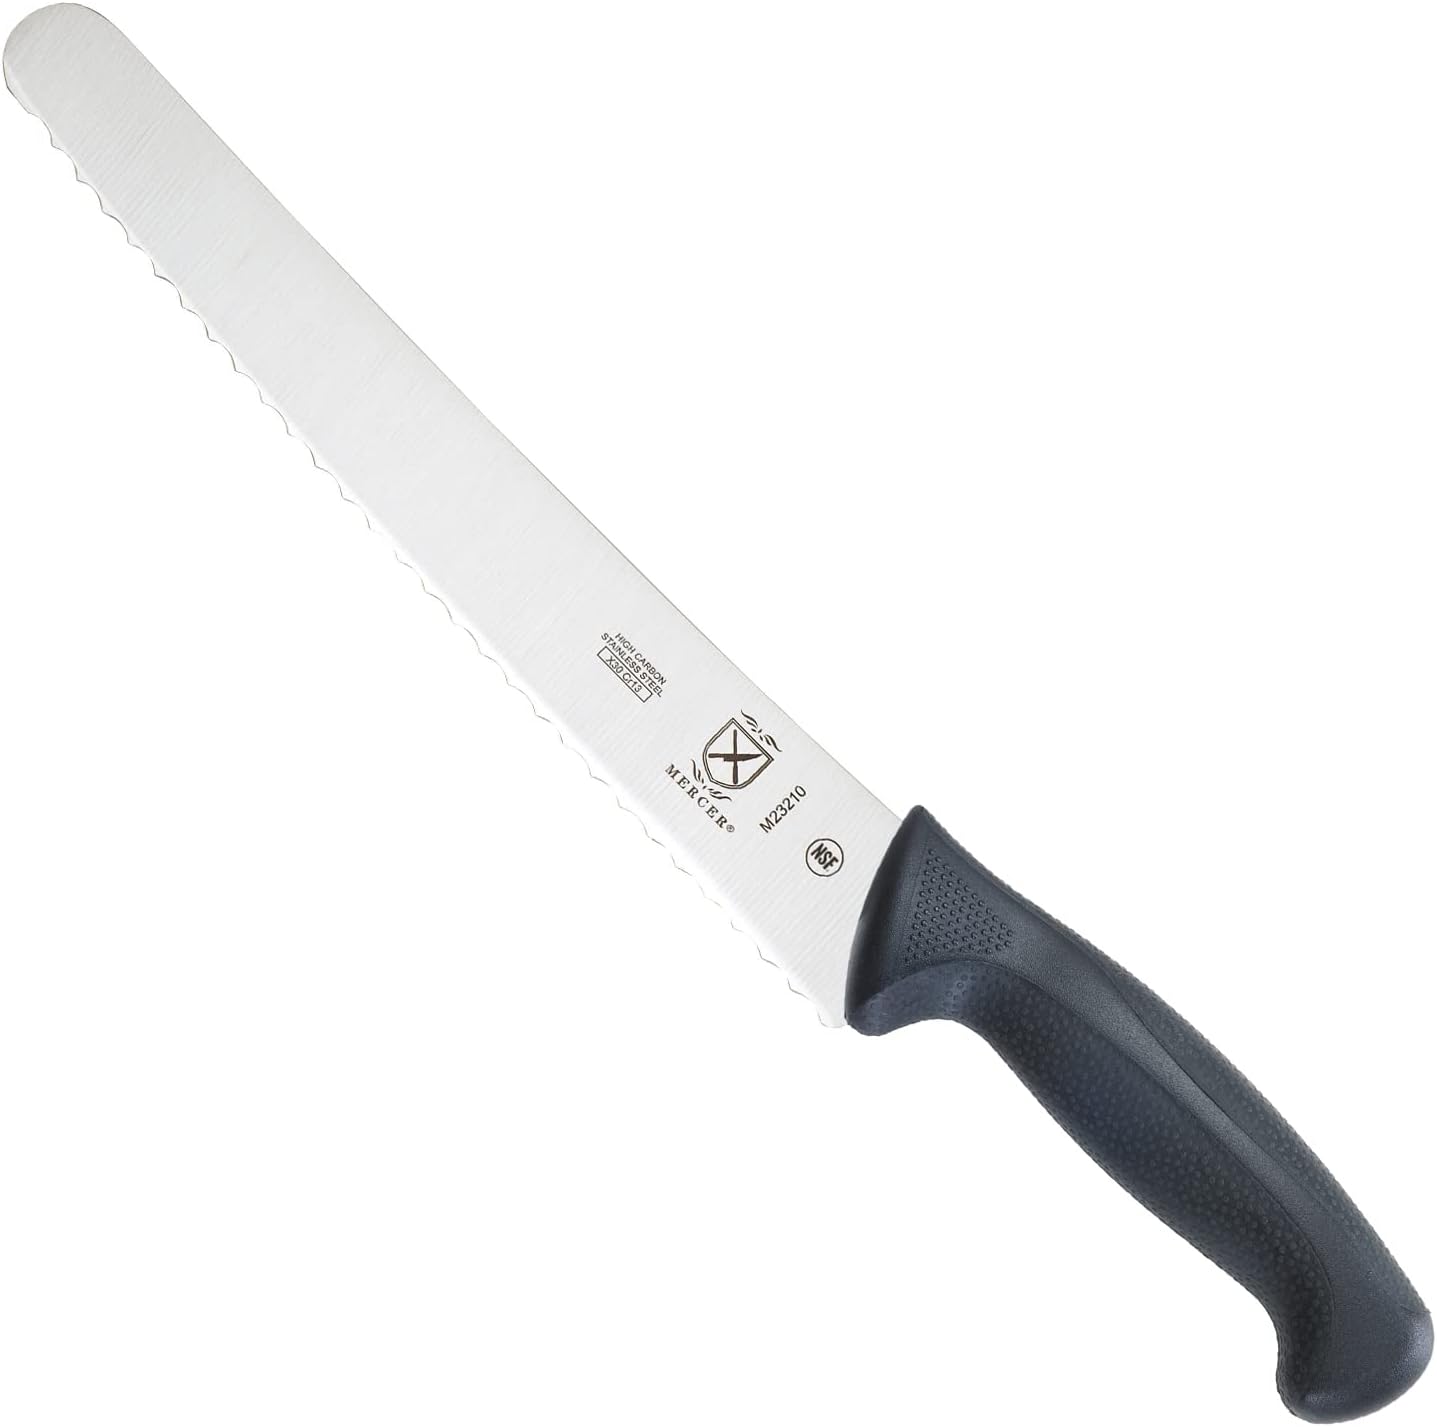
| Serrated Edge | Bread, tomatoes, soft-skinned fruits | 5-7 inches | Sandwich/serrated utility |
| Granton Edge | Slicing proteins, preventing sticking | 6-7 inches | Slicing utility |
| Sheep’s Foot | Chopping herbs, detailed work | 4-5 inches | Japanese-style utility |
The handle design is equally important. Most utility knives feature ergonomic handles that provide secure grip even when wet. Common materials include polypropylene, wood, and composite materials. The tang—the portion of the blade that extends into the handle—varies from partial to full tang, with full tang providing better balance and durability.
What Is a Utility Knife Used For? 25+ Practical Applications
The true value of a utility knife lies in its versatility. While chef knives and paring knives have their specialized domains, the utility knife thrives in the vast middle ground. Here are the primary categories of tasks where a utility knife excels:
1. Protein Preparation & Butchery
For tasks that are too small for a chef knife but too large for a paring knife:
- Trimming fat and silver skin from steaks, chops, and roasts
- Butterflying chicken ***** or pounding them to even thickness
- Portioning fish fillets into serving sizes
- Removing skin from salmon or other fish
- Cutting bacon into lardons or small pieces
- Slicing cooked meats like roast chicken or pork tenderloin
2. Vegetable & Fruit Work
The perfect size for medium-sized produce:
- Slicing tomatoes (especially with serrated utility knives)
- Cutting bell peppers into strips or dice
- Trimming mushrooms and slicing them uniformly
- Peeling and segmenting citrus fruits
- Cutting zucchini or cucumbers into coins or spears
- Preparing avocado slices for toast or salad
3. Sandwich & Lunch Preparation
Arguably the best tool for lunch duty:
- Slicing sandwiches neatly without crushing them
- Cutting bagels (with care and a sawing motion)
- Trimming crusts from bread for picky eaters
- Slicing cheese for sandwiches or cheese boards
- Cutting wraps or burritos diagonally
4. Miscellaneous Kitchen Tasks
The “everything else” category where utility knives shine:
- Opening packages (carefully, with the tip)
- Slicing pizza when a wheel cutter isn’t available
- Cutting parchment paper or baking sheets to size
- Trimming herb stems and chopping small amounts
- Portioning brownies or bar cookies
- Slicing cake layers horizontally
Keep It Dedicated: Consider having two utility knives—one for proteins and one for everything else. This prevents cross-contamination and ensures your fruit and vegetable knife stays sharper longer (protein fibers can dull blades faster).
Ready to Add a Utility Knife to Your Kitchen?
A quality utility knife should feel like an extension of your hand—balanced, sharp, and comfortable. The right choice depends on your primary tasks, hand size, and cutting style. Whether you prioritize precision slicing or versatile chopping, there’s a perfect utility knife for your needs.
Utility Knife vs. Paring Knife vs. Chef Knife: When to Use Each
Understanding when to reach for which knife is key to efficient kitchen work. Each of these three essential knives has its domain, but there’s considerable overlap—especially between the utility knife and its larger and smaller counterparts.
| Feature | Paring Knife (3-4″) | Utility Knife (4-7″) | Chef Knife (8-10″) |
|---|---|---|---|
| Primary Use | Precision work, peeling, detail cutting | Medium tasks, slicing, trimming | Heavy chopping, mincing, bulk prep |
| Control Level | Maximum precision, full fingertip control | Excellent control with more cutting power | Less precision, more cutting force |
| Cutting Motion | Push cuts, peeling motions | Rocking, slicing, push cutting | Rocking, chopping, heavy slicing |
| Ideal For | Garlic, shallots, fruit segments, decorative work | Sandwiches, medium veggies, protein trimming | Onions, carrots, herbs, large volume prep |
| Not Ideal For | Slicing bread, cutting large items | Heavy chopping, bulk vegetable prep | Detail work, small fruits, precision tasks |
The Overlap Zones: Where Knives Compete
When Utility Beats Paring
- Slicing medium-sized fruits (apples, oranges, peaches)
- Cutting cheese for sandwiches or cheese boards
- Trimming fat from meat (more control than chef knife)
- Butterflying chicken ***** (safer than paring knife)
- Slicing sandwiches (cleaner cuts than paring knife)
When Utility Loses to Chef
- Chopping large quantities of vegetables
- Mincing herbs in volume
- Breaking down large squashes or root vegetables
- Heavy-duty meat cutting (bone-in cuts)
- When you need weight for through-cuts
Interestingly, many home cooks find they reach for their utility knife more often than either extreme. As chef and knife skills instructor Marco Pierre explains, “The utility knife is what I call the ‘sweet spot’ knife. It’s large enough to be efficient but small enough to maintain control. For the average home cook preparing meals for 2-4 people, a sharp 6-inch utility knife might handle 70% of all cutting tasks.”
If you’re interested in how other specialized knives compare, check out our detailed guide on paring knife vs. utility knife differences for an in-depth look at these precision tools.
Proper Utility Knife Techniques: Maximizing Efficiency and Safety
While utility knives are generally easier to handle than larger chef knives, proper technique still matters for safety, efficiency, and achieving the best results. Here are the essential techniques to master:
The Basic Grip: Finding Control
For most utility knife tasks, use a modified pinch grip:
- Pinch the blade between your thumb and index finger just in front of the handle
- Wrap remaining fingers comfortably around the handle
- Keep thumb on the side of the blade (not over the top)
- Maintain loose wrist for fluid motion, not stiff arm
Essential Cutting Motions
Rocking Motion
For herbs, garlic, small vegetables. Keep tip on board, rock blade up and down.
Push Cutting
For slicing tomatoes, cheese, cooked meats. Push blade forward through item.
Sawing Motion
For crusty bread, tough-skinned items. Gentle back-and-forth with light pressure.
Specialized Techniques for Common Tasks
1. Slicing Sandwiches Without Crushing
Use a gentle sawing motion with minimal downward pressure. Let the sharp blade do the work—don’t press down. For tall sandwiches, consider using toothpicks to hold layers in place before cutting.
2. Trimming Fat from Meat
Use short, controlled strokes with the front third of the blade. Keep the meat cold (partially frozen is ideal) for cleaner cuts. Angle the blade slightly away from the meat to maximize fat removal while preserving meat.
3. Butterflying Chicken *****
Place breast flat on board, hand on top. Make a horizontal cut through the thickest part, stopping about ½ inch from the opposite edge. Open like a book. The utility knife’s control is perfect for this task.
4. Slicing Tomatoes
If using a straight-edge utility knife, ensure it’s razor sharp. Use a gentle sawing motion with the front of the blade. For serrated utility knives, let the teeth do the work with minimal pressure.
Always cut away from yourself and keep your free hand in the claw position (fingers curled under, knuckles guiding the blade). A sharp utility knife is actually safer than a dull one because it requires less force and is less likely to slip. For more knife safety fundamentals, check out our guide on knife sharpening and maintenance.
Blade Types & Materials: Steel, Edges, and Construction
The performance, durability, and maintenance requirements of your utility knife depend largely on the blade material and construction. Understanding these differences will help you choose the right knife for your needs.
Common Blade Steels for Utility Knives
| Steel Type | Best For | Edge Retention | Ease of Sharpening | Price Range |
|---|---|---|---|---|
| X50CrMoV15 | All-purpose home use | Good (4-6 weeks) | Easy | $$ |
| VG-10 | Enthusiasts, frequent use | Excellent (8-12 weeks) | Moderate | $$$ |
| AUS-8/AUS-10 | Professional kitchens | Very Good (6-8 weeks) | Moderate | $$-$$$ |
| 420HC | Budget options | Fair (2-4 weeks) | Very Easy | $ |
| SG2/R2 Powdered | Premium performance | Exceptional (3+ months) | Difficult (professional) | $$$$ |
Edge Types: Straight vs. Serrated
Straight Edge Utility
- Clean, precise cuts on most items
- Easier to sharpen at home
- More versatile for different cutting techniques
- Better for push cutting and slicing
- Preferred for protein work and vegetable slicing
Serrated Edge Utility
- Teeth can tear rather than slice delicate items
- Much harder to sharpen properly
- Limited to sawing motion cutting
- Can crush soft bread if not used carefully
- Not suitable for most vegetable or protein work
Many experienced cooks opt for a straight-edge utility knife for general use and keep a separate serrated bread knife for tasks that truly require teeth. However, some brands offer “hybrid” or “semi-serrated” utility knives with a partially serrated edge—these can be good compromises for those with limited space.
For those interested in high-performance steel comparisons, our steel comparison guide offers detailed analysis of how different blade materials perform in real-world conditions.
Invest in Quality Steel
The difference between mediocre and excellent steel is dramatic. A quality blade holds its edge longer, requires less frequent sharpening, and provides cleaner cuts. While premium steel costs more upfront, it saves time and provides better results for years. For budget-conscious shoppers, our guide to the best knives under $75 includes utility knife options that offer excellent value.
How to Choose the Perfect Utility Knife: A Buyer’s Checklist
With dozens of options available, selecting the right utility knife can feel overwhelming. Use this checklist to narrow down your choices based on your specific needs, preferences, and budget.
Step 1: Determine Your Primary Use Cases
- Mostly sandwiches and lunch prep? → Consider a 5-6″ straight edge or hybrid
- Frequent protein trimming and butchery? → 6″ straight edge with good belly curve
- Primarily vegetable and fruit work? → 5″ straight edge, thinner blade
- All-purpose home cooking? → 6″ straight edge, versatile design
- Professional kitchen use? → 6-7″ straight edge, full tang, professional steel
Step 2: Consider Blade Length
The right length depends on your hand size and typical tasks:
- 4-5 inches: Excellent control, ideal for smaller hands, detail work
- 5-6 inches: The sweet spot for most users, balanced versatility
- 6-7 inches: More cutting power, better for larger items, less precision
Step 3: Evaluate Handle Comfort
The handle should feel like an extension of your hand:
- Material: Wood (traditional, warm), plastic (durable, dishwasher-safe), composite (best of both)
- Shape: Test different grips—some prefer contoured, others prefer straight
- Balance: The knife should balance at the point where blade meets handle
- Texture: Enough grip to prevent slipping when wet, but comfortable
Step 4: Set Your Budget
Budget ($15-$40)
Victorinox Fibrox, Mercer Millennia, Dexter-Russell. Good performance for price.
Mid-Range ($40-$100)
Wüsthof, Zwilling, Mac, Global. Excellent balance of quality and value.
Premium ($100-$250)
Shun, Miyabi, Kramer, Bob Kramer. Exceptional materials, craftsmanship.
Professional ($250+)
Custom makers, Damascus, specialty steels. Heirloom quality, maximum performance.
Step 5: Test Before You Buy (If Possible)
If you can visit a store:
- Make a cutting motion in the air to check balance
- Grip the handle with wet hands (or use sanitizer) to test slip resistance
- Check the edge—it should feel sharp along its entire length
- Look at the spine—it should be smooth and rounded for comfort
“Don’t assume more expensive always means better for you. A $30 Victorinox utility knife will outperform a $150 decorative knife from a department store. Focus on reputable brands known for performance rather than flashy appearance. If you’re building a collection on a budget, check out our guide to the best value knives for culinary students—these recommendations work equally well for home cooks.”
Utility Knife Maintenance: Keeping Your Blade Razor Sharp
A sharp utility knife is a safe, efficient, and enjoyable tool. Dull knives require more force, slip more easily, and produce inferior results. Regular maintenance is essential.
The Sharpening Frequency Guide
| Usage Level | Honing Frequency | Sharpening Frequency | Signs It’s Time |
|---|---|---|---|
| Light Use (1-2 meals/week) |
Before each use | Every 3-4 months | Crushing tomatoes, slipping on skins |
| Moderate Use (Daily home cooking) |
2-3 times per week | Every 6-8 weeks | Needing pressure to slice, torn bread crust |
| Heavy Use (Professional or large family) |
Daily | Every 3-4 weeks | Crushing herbs, struggling with protein |
Essential Maintenance Tools
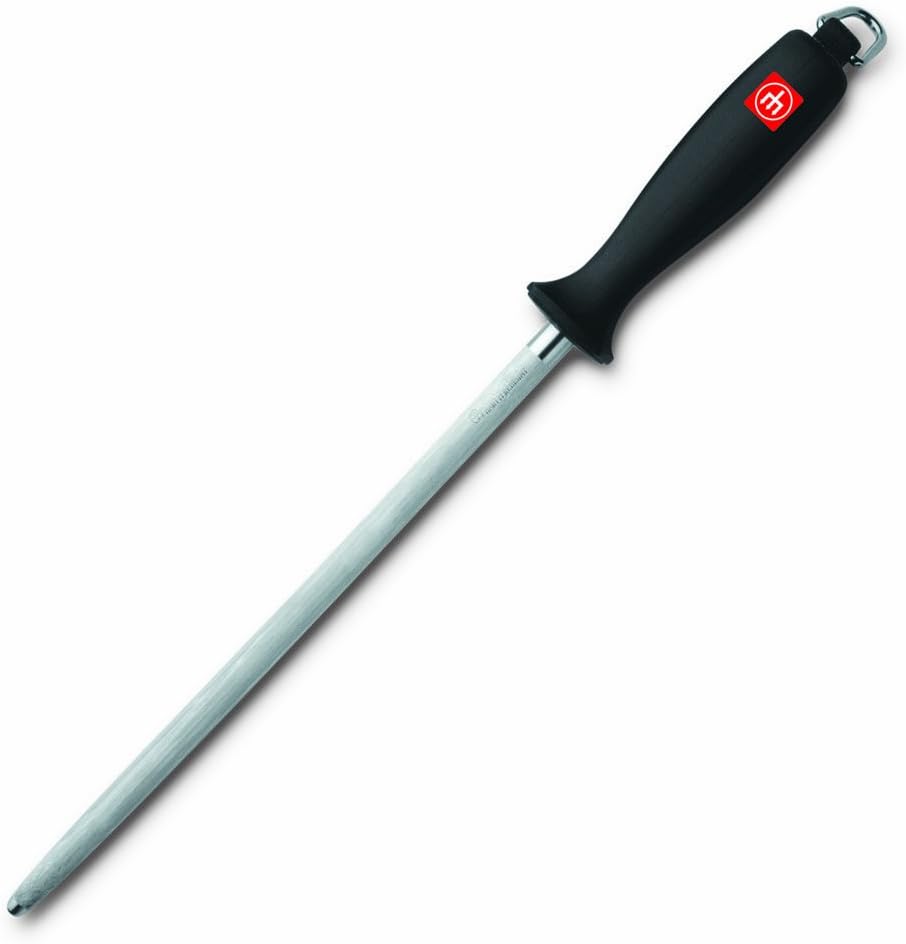
Honing Steel
Realigns edge between sharpenings. Use before or after each use. Not a sharpener!
Whetstone
Actually sharpens by removing metal. 1000 grit for maintenance, 3000+ for polishing.
Lubrication
Mineral oil for carbon steel blades. Prevents rust, keeps action smooth.
Proper Storage
Knife block, magnetic strip, or blade guards. Never loose in drawer!
Step-by-Step Sharpening for Utility Knives
- Soak your whetstone for 10-15 minutes until bubbles stop
- Establish consistent angle (15-20° for Western, 10-15° for Japanese)
- Use light pressure—let the stone do the work
- Maintain consistent strokes along entire edge
- Check for burr, then flip and repeat
- Finish with honing steel to align micro-teeth
- Test sharpness on paper or tomato skin
For a complete guide to sharpening all your kitchen knives, see our comprehensive knife sharpening guide for 2026, which covers everything from basic maintenance to professional techniques.
Avoid the dishwasher at all costs. The harsh detergents, high heat, and banging against other items will destroy your utility knife’s edge, damage the handle, and potentially cause rust on carbon steel blades. Hand wash with warm soapy water, dry immediately, and store properly.
Professional Kitchen Tips: Maximizing Your Utility Knife’s Potential
After decades in professional kitchens and training hundreds of cooks, I’ve collected insights that transform how people use their utility knives. These tips go beyond basic technique to help you work smarter, faster, and safer.
1. The “Two-Knife System” for Efficiency
Keep two utility knives on your station: one for proteins, one for everything else. This prevents cross-contamination and keeps your vegetable knife sharper (protein fibers are tougher on edges). Color-code handles or use different brands to avoid confusion during busy cooking sessions.
2. Master the “Utility Knife Flip”
When transitioning between tasks, learn to safely flip the knife in your hand to use different parts of the blade. The tip for detail work, middle for slicing, heel for tougher items. This reduces repositioning time and keeps your workflow smooth.
3. Create a Dedicated Sharpening Schedule
Don’t wait until your utility knife is dull. Mark your calendar for regular maintenance. For most home cooks: hone weekly, sharpen monthly, professional tune-up annually. Consistency prevents that “suddenly dull” moment during important meal prep.
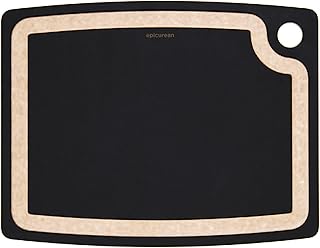
4. Use the Right Cutting Surface
Your utility knife deserves a proper cutting board. End-grain wood or high-quality plastic boards are ideal. Avoid glass, marble, or bamboo surfaces that quickly dull edges. The board should be stable (damp towel underneath) and large enough for safe work.
5. Learn “Blind Cutting” for Repetitive Tasks
When slicing multiple similar items (cucumbers, mushrooms, strawberries), position your guiding hand and develop a rhythm where you’re not constantly looking at the blade. This dramatically increases speed while maintaining consistency and safety.
6. Temperature Matters
For protein work, slightly chilled meat is easier to slice cleanly. For tomatoes and other delicate items, room temperature yields cleaner cuts. Adjust your workflow accordingly—trim and portion proteins early in prep when they’re still cool.
“Practice ‘air cutting’—going through the motions without food. This builds muscle memory for proper technique without the pressure of cutting actual ingredients. Focus on consistent angle, smooth motion, and proper hand positioning. When you return to actual cutting, you’ll be more precise and confident.”
Complete Your Knife Care Kit
Proper maintenance requires the right tools. A quality combination whetstone (1000/3000 grit), a reliable honing steel, and a non-slip stone holder will keep your utility knife performing at its best for years. Don’t forget a cutting board that’s gentle on edges and storage that protects your investment. For storage solutions, explore our guide to the best knife holders of 2026.
Common Utility Knife Mistakes (And How to Fix Them)
Even experienced cooks make mistakes with their utility knives. Recognizing and correcting these common errors will improve your results and extend your knife’s life.
Common Mistakes
- Using as a pry bar: Never use your utility knife to open cans, pry lids, or scrape surfaces
- Cutting on improper surfaces: Glass, ceramic, or metal boards destroy edges instantly
- Storing loosely in drawers: This dulls the edge and creates safety hazards
- Applying too much pressure: Let the sharp blade do the work—force causes slipping
- Neglecting regular honing: Waiting until completely dull makes sharpening harder
- Using the wrong part of blade: Tip for detail, middle for slicing, heel for tough items
- Cutting frozen foods: This can chip or crack even quality blades
- Dishwasher cleaning: Heat and chemicals destroy handles and promote rust
Proper Alternatives
- Use the right tool: Can openers for cans, bench scrapers for cleaning boards
- Invest in proper boards: End-grain wood or quality plastic cutting surfaces
- Store safely: Knife blocks, magnetic strips, or blade guards
- Let sharpness work: A properly sharpened knife needs minimal pressure
- Hone regularly: Use a steel before or after each use
- Learn blade geography: Different sections excel at different tasks
- Thaw properly: Never cut frozen foods with your utility knife
- Hand wash only: Warm soapy water, immediate drying
The “Oh No” Moment: Damage Control
If you’ve already made some of these mistakes, here’s how to recover:
Chipped Edge
Small chips can often be sharpened out. Deep chips may require professional regrinding.
Surface Rust
Gently rub with baking soda paste or specialized rust remover, then oil regularly.
Loose Handle
Epoxy can often fix this, but consider professional repair for valuable knives.
Irreparable Damage
Sometimes replacement is more economical than repair. Know when to let go.
For more on fixing common knife problems, including rust removal and handle repair, check out our guide on removing rust from kitchen knives.
Frequently Asked Questions About Utility Knives
Expert answers to the most common utility knife questions
For most home cooks, a 5 to 6-inch utility knife offers the best balance of control and versatility. The 5-inch size is perfect for those with smaller hands or who prioritize precision tasks, while 6 inches provides more cutting power for sandwiches and medium vegetables. Consider your primary tasks: if you mostly make sandwiches and trim proteins, lean toward 6 inches; if you focus on fruit and detail work, 5 inches might be ideal.
For most tasks, yes—but with some limitations. A utility knife can handle peeling, trimming, and detail work, though it’s slightly less nimble than a true paring knife. Where it excels is tasks too large for paring knives, like slicing small fruits or trimming medium vegetables. For supreme precision (like tournée cuts or intricate garnishes), a paring knife still reigns supreme. Many cooks find they can handle 80-90% of paring knife tasks with a quality utility knife.
For general use, straight-edge is overwhelmingly preferred. It’s more versatile, easier to sharpen, and better for most kitchen tasks. Serrated utility knives excel at exactly one thing: cutting bread and crusty items. If you already have a bread knife, a straight-edge utility is the better choice. The only exception might be if you primarily make sandwiches and want one knife that can slice bread and fillings—but even then, most professionals prefer separate tools.
Sharpening frequency depends on usage and steel quality. For moderate home use (4-5 meals per week), sharpen every 6-8 weeks with a whetstone. Hone with a steel before each use to maintain alignment. Signs you need sharpening: the knife crushes tomatoes instead of slicing cleanly, requires excessive pressure, or slips on onion skins. Better steel (like VG-10 or SG2) holds an edge longer—sometimes 3-4 months with proper maintenance.
While not strictly “necessary,” a utility knife dramatically improves efficiency for medium-sized tasks. Chef knives excel at heavy chopping and bulk prep but can feel cumbersome for sandwich-making, fruit slicing, or protein trimming. Many home cooks find they reach for their utility knife more often than their chef knife for everyday tasks. It’s particularly valuable for cooks with smaller hands, those working in limited space, or anyone who finds standard chef knives intimidating.
Three good options: 1) Magnetic wall strip—keeps blades accessible and visible while protecting edges. 2) Knife block with individual slots—traditional and protective. 3) Blade guards in a drawer organizer—space-efficient and safe. Never store loose in a drawer (dulls edges and creates hazards) or in a block that requires scraping the edge against other knives or wood. For small kitchens, our guide to small kitchen knife storage offers creative solutions.
Absolutely not. Dishwashers destroy kitchen knives through: 1) Harsh detergents that corrode steel, 2) High heat that damages temper and handles, 3) Banging against other items that chips edges, and 4) Prolonged moisture that causes rust. Always hand wash with warm soapy water, dry immediately, and store properly. This simple practice extends your knife’s life by years and maintains performance. Even “dishwasher-safe” claims should be ignored for quality cutlery.
For most users, X50CrMoV15 (common in German knives) offers the best balance of edge retention, corrosion resistance, and ease of sharpening. Enthusiasts might prefer VG-10 for superior edge holding. Budget options often use 420HC—less durable but easy to sharpen. Premium choices include SG2/R2 powdered steel for exceptional performance. Consider your sharpening skills: harder steels hold edges longer but require more skill to sharpen properly. For detailed steel comparisons, see our edge retention tests.
Expect to spend $30-$80 for a quality utility knife that will last years. The $30-$50 range includes excellent options like Victorinox Fibrox or Mercer Millennia—perfect for most home cooks. $50-$80 gets you into premium brands like Wüsthof or Zwilling’s mid-lines. Over $100 enters enthusiast territory with specialized steels and craftsmanship. Avoid cheap ($10-$20) knives that dull quickly and feel unbalanced. Remember: a $40 knife properly maintained outperforms a $200 knife that’s neglected. For budget options, see our best budget knife guide.
Excellent for beginners! Utility knives offer several advantages for those new to kitchen knives: 1) Easier to control than large chef knives, 2) Less intimidating size, 3) Versatile enough to handle most learning tasks, 4) Good for developing proper technique before moving to larger blades. Many cooking schools actually start students with 6-inch utility knives before introducing chef knives. The medium size helps build confidence while teaching fundamental skills like grip, cutting motion, and knife care.
Your Journey to Utility Knife Mastery Starts Now
From confusing middle-child to indispensable kitchen companion
The utility knife has quietly evolved from kitchen afterthought to essential tool for cooks at every level. Its perfect balance of size, control, and versatility makes it uniquely suited to the hundreds of medium-sized tasks that fill our cooking routines. Whether you’re slicing sandwiches for lunch, trimming protein for dinner, or prepping fruits for dessert, this humble blade rises to the occasion.
Remember that the best utility knife isn’t necessarily the most expensive—it’s the one that feels like an extension of your hand, maintains its edge with proper care, and suits your specific cooking style. With the knowledge you’ve gained today, you’re equipped to select, use, and maintain a utility knife that will serve you well for years to come.
Find Your Perfect Match
Explore our expert-curated list of the best utility knives for every budget and cooking style.
View Top Picks →Master Knife Care
Learn professional sharpening and maintenance techniques to keep your blades razor-sharp.
Learn Sharpening →Build Your Collection
Discover which other essential knives complete your kitchen arsenal for any cooking task.
Explore Essentials →